Category: Herbs and Easy Plants to Grow

  • How to Grow Parsley in a Small Pot

    How to Grow Parsley in a Small Pot

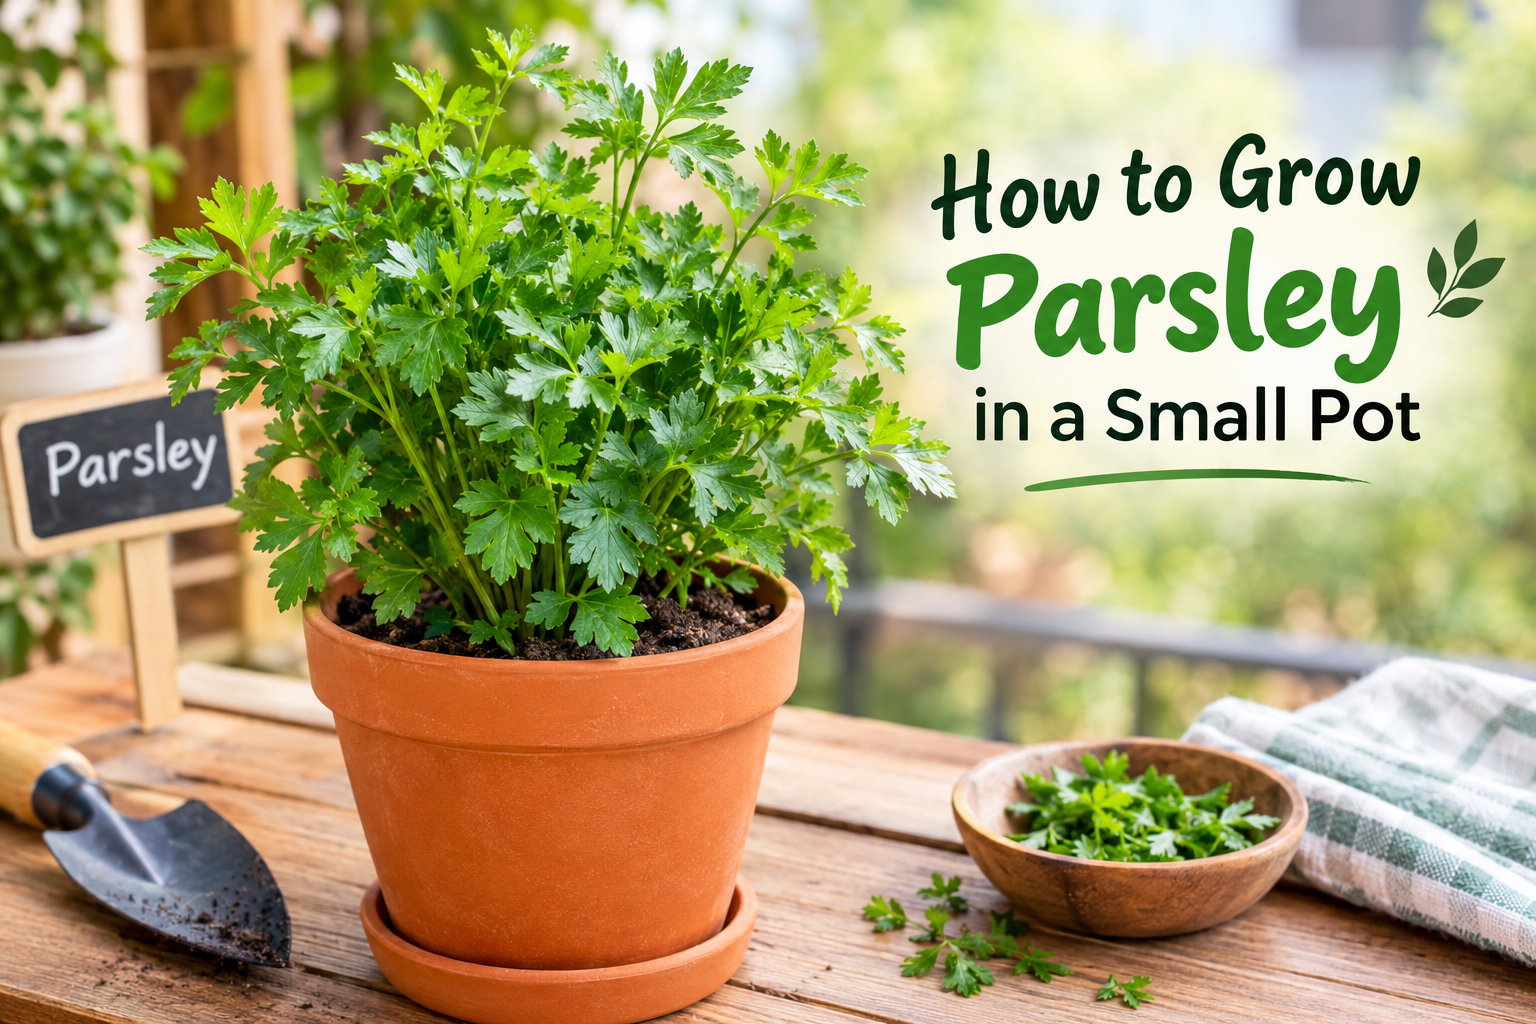
    Growing parsley in a small pot is one of the easiest ways to enjoy fresh herbs at home. You do not need a large garden, a backyard, or expensive gardening equipment. A sunny windowsill, balcony, patio, or small outdoor space can be enough to grow healthy parsley for everyday cooking.

    I personally like growing parsley in pots because it is practical and does not require much space. Once the plant becomes established, you can regularly pick fresh leaves whenever you need them. Freshly harvested parsley also has a much better aroma and flavor than parsley that has been stored for several days.

    In this guide, I will explain how to grow parsley in a small pot, including choosing the right container, preparing the soil, planting seeds, watering, providing sunlight, caring for the plant, and harvesting it correctly.

    Why Grow Parsley in a Small Pot?

    Parsley is a useful herb for almost every home kitchen. It can be added to salads, soups, sauces, rice dishes, pasta, vegetables, and many other meals. Growing parsley at home means you can have a fresh supply without depending completely on the grocery store.

    Another benefit is that parsley does not need a huge container. Its roots do need reasonable depth, but a medium sized pot can provide enough room for a healthy plant. This makes parsley a good choice for people who live in apartments or homes with limited gardening space.

    Growing parsley in a pot also gives you better control over the soil, water, sunlight, and growing conditions. If the weather becomes too hot or too cold, you can move the container to a more suitable location.

    Choose the Right Pot

    The first important step is selecting a suitable pot. When growing parsley in a small pot, I recommend choosing a container that is at least 8 to 10 inches deep. A slightly deeper pot can be even better because parsley develops a relatively long root.

    The width of the pot can be around 8 to 12 inches depending on how much parsley you want to grow. Make sure the container has drainage holes at the bottom.

    Good drainage is extremely important. If excess water remains trapped around the roots, the soil can become waterlogged and the plant may develop root problems.

    You can use a terracotta pot, plastic container, ceramic pot, or another suitable gardening container. The material is less important than proper drainage and sufficient depth.

    Select Good Quality Parsley Seeds

    Parsley is usually grown from seeds. You can find different types of parsley, including curly parsley and flat leaf parsley.

    Curly parsley has tightly curled leaves and is often used as a garnish. Flat leaf parsley has broader leaves and a stronger flavor, making it popular for cooking.

    When buying seeds, check the package and choose fresh seeds from a reliable source. Older parsley seeds may have lower germination rates, so fresh seeds can make the process easier for beginners.

    Prepare the Soil

    Parsley grows best in loose, fertile, and well drained soil. Avoid using heavy soil that becomes hard and compact after watering.

    For container gardening, you can use a good quality potting mix. Adding some compost can help improve the soil and provide nutrients for the plant.

    The soil should hold enough moisture for the roots while allowing excess water to drain away. This balance is important because parsley likes consistent moisture but does not like sitting in soggy soil.

    Before planting, fill the pot with soil and leave a little space at the top. Gently level the surface without pressing it too tightly.

    How to Plant Parsley Seeds

    Parsley seeds can take some time to germinate, so patience is important. Start by lightly moistening the soil.

    Scatter the seeds across the surface of the soil. Try not to place too many seeds in exactly the same spot. After spreading the seeds, cover them with a thin layer of soil.

    The seeds should not be planted too deeply. A light covering of soil is generally enough.

    Water gently using a watering can or spray bottle. Avoid pouring water with strong pressure because it can move the seeds around.

    Keep the soil slightly moist while waiting for germination. Depending on conditions, parsley seeds may take several weeks to sprout.

    Give Parsley Enough Sunlight

    Parsley needs good light for healthy growth. Place your small pot in a location where the plant can receive several hours of sunlight each day.

    A sunny windowsill can work well if you are growing parsley indoors. A balcony, patio, or other bright location can also be suitable.

    In very hot weather, strong afternoon sunlight may become stressful for the plant. If the leaves begin to look weak or the soil dries extremely quickly, consider moving the pot to a location with bright morning sunlight and some afternoon protection.

    The exact amount of sunlight needed can vary depending on your climate and growing conditions. The important thing is to provide plenty of bright light while protecting the plant from extreme heat.

    Water Parsley Properly

    Watering is one of the most important parts of parsley care. I prefer checking the soil rather than following a strict watering schedule.

    Put your finger into the top layer of soil. If the surface feels dry, it may be time to water the plant. If the soil is still moist, you can wait.

    When watering, water slowly until a little water begins to drain from the holes at the bottom of the pot. This helps moisten the root area.

    Do not allow the pot to sit in standing water. If the container has a saucer underneath it, empty excess water after watering when necessary.

    During hot weather, container soil can dry faster, so check the plant more frequently.

    Thin the Seedlings

    If many parsley seedlings grow close together, they may compete for sunlight, water, nutrients, and root space.

    Once the seedlings become large enough to handle, thin them carefully. Remove weaker or overcrowded seedlings and leave the healthiest plants with enough space to grow.

    You do not need to remove every extra seedling immediately. The goal is to prevent extreme overcrowding while keeping enough plants for a useful harvest.

    Thinning also improves air circulation around the leaves, which can help create healthier growing conditions.

    Feed the Plant When Needed

    Parsley does not require complicated fertilizing. If you use good quality potting soil mixed with compost, the plant may have enough nutrients for some time.

    As the plant continues growing, nutrients in a small container can gradually become depleted. A mild balanced fertilizer can be used occasionally according to the product instructions.

    Avoid using excessive fertilizer. Too much fertilizer can damage roots and may encourage weak growth.

    For me, the simplest approach is to focus first on good soil, proper watering, sufficient light, and regular harvesting. These basics are usually more important than adding large amounts of fertilizer.

    Protect Parsley From Extreme Weather

    Parsley is fairly adaptable, but container plants can be more sensitive to weather changes than plants growing directly in the ground.

    During extremely hot weather, move the pot away from harsh afternoon sunlight if the leaves begin to wilt repeatedly.

    During very cold conditions, move the container to a protected location when necessary. Because the pot is small, its soil temperature can change more quickly than garden soil.

    One advantage of growing parsley in a container is that you can easily move it when conditions change.
    How to Grow Parsley in a Small Pot

    Watch for Common Problems

    Parsley is generally easy to grow, but problems can still happen.

    Yellow leaves can sometimes be caused by excessive watering, poor drainage, insufficient nutrients, or other growing conditions. Before changing everything, check the soil moisture and drainage.

    Wilting leaves may indicate that the plant needs water, but wilting can also happen when roots are stressed by excessive moisture or extreme heat.

    If you notice insects on the leaves, inspect the plant regularly. Remove visible pests when possible and keep the plant clean and healthy.

    Good air circulation, proper watering, and regular inspection can help prevent many common problems.

    How to Harvest Parsley

    One of the best parts of growing parsley at home is harvesting fresh leaves whenever you need them.

    Wait until the plant has developed several healthy stems before taking a larger harvest. When harvesting, cut the outer stems close to the base rather than removing only the tips of the leaves.

    This encourages the plant to continue producing new growth.

    Try not to remove too much of the plant at one time. Leaving plenty of healthy growth allows parsley to continue developing.

    For the freshest flavor, I like harvesting parsley shortly before using it in a meal. Rinse the leaves gently and use them fresh in your favorite recipes.

    Can You Grow Parsley Indoors?

    Yes, parsley can be grown indoors if you provide suitable light and proper care. A bright window can be an excellent location.

    If your indoor space does not receive enough natural light, the plant may become weak or grow slowly. In that situation, a suitable grow light can help provide additional light.

    Keep the pot away from areas with extreme temperature changes, such as directly beside heating equipment or strong air conditioning.

    Indoor parsley can be especially convenient because you can keep it close to the kitchen and harvest a few leaves whenever you are cooking.

    How Long Does Parsley Take to Grow?

    Parsley is not one of the fastest herbs to germinate. The seeds can take several weeks to sprout, so beginners should not become discouraged if nothing appears immediately.

    After germination, the plant gradually develops more leaves and stronger stems. The growing speed depends on temperature, sunlight, soil quality, watering, and general care.

    Once the plant has enough healthy growth, you can begin harvesting small amounts. Regular harvesting can help keep the plant productive.

    Simple Tips for Growing Parsley Successfully

    If you are growing parsley in a small pot for the first time, keep the process simple.

    Choose a pot with drainage holes and enough depth for the roots. Use good quality, well drained potting soil. Plant the seeds shallowly and keep the soil consistently moist while they germinate.

    Provide plenty of bright light and protect the plant from extreme heat. Avoid overwatering and never leave the pot sitting in water.

    As the plant grows, remove overcrowded seedlings and harvest the outer stems regularly.

    The biggest mistake beginners often make is trying to do too much. Parsley does not need complicated care. Consistency is more important than constantly changing the growing conditions.

    Final Thoughts

    Learning how to grow parsley in a small pot is a simple and rewarding gardening project. You can grow fresh parsley even if you have very limited space. With a suitable pot, healthy soil, enough sunlight, proper watering, and a little patience, you can develop a productive parsley plant at home.

    I believe container gardening is one of the easiest ways for beginners to start growing herbs. Parsley is especially useful because it can be harvested regularly and used in many everyday meals.

    If you are new to gardening, start with one small pot and observe how the plant responds to your care. Check the soil regularly, provide good light, avoid excessive watering, and harvest carefully. With time, you will learn what works best in your own growing environment.

    Growing parsley at home does not have to be complicated. A small pot and a little attention can give you a fresh supply of green leaves right outside your kitchen.
  • How to Grow Coriander at Home

    How to Grow Coriander at Home

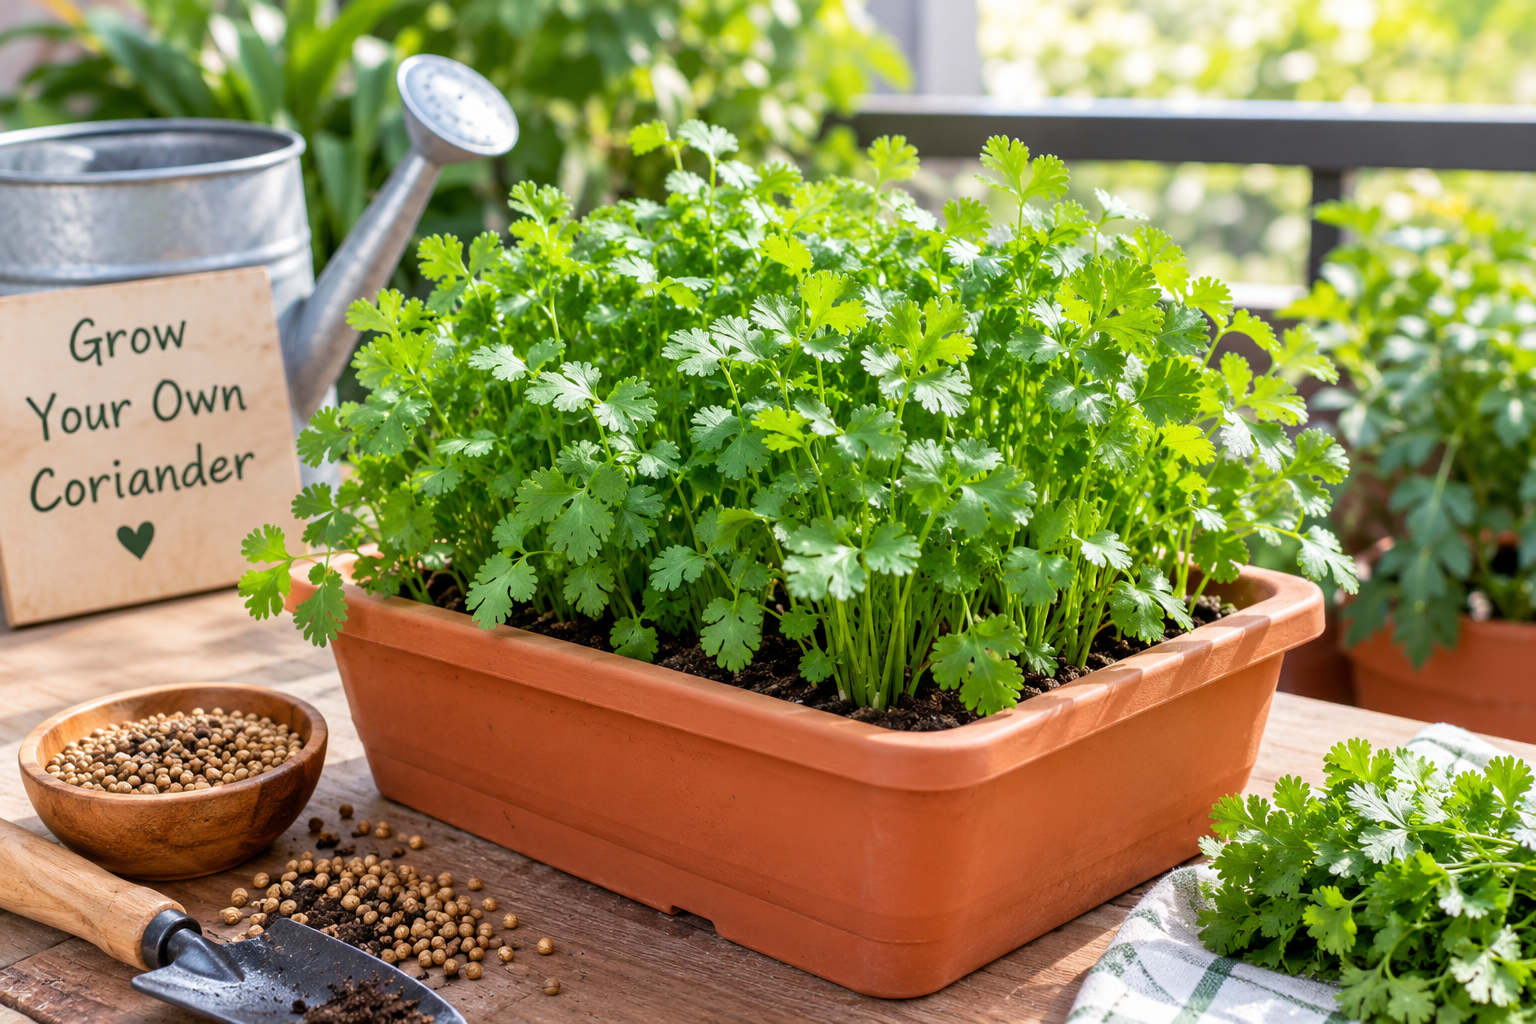
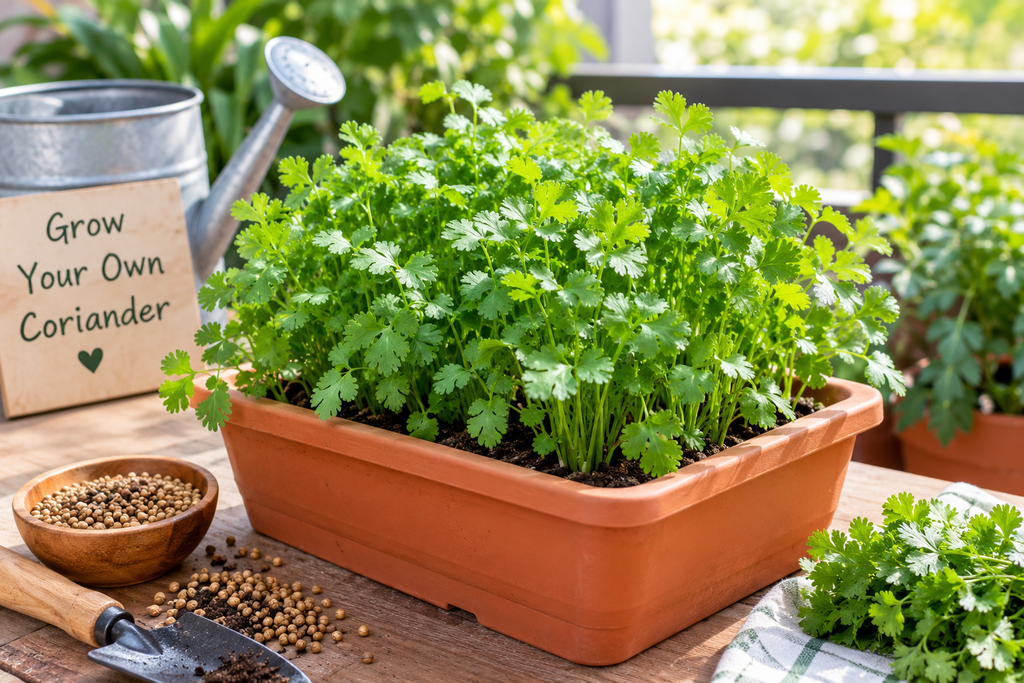
    Growing coriander at home is one of the easiest ways to enjoy fresh herbs whenever you need them. I personally find coriander very useful because it can be added to salads, curries, soups, chutneys, rice dishes, and many other homemade meals. You do not need a large garden or expensive gardening equipment to grow it. A small pot, good soil, coriander seeds, sunlight, and regular care are usually enough to get started.

    If you are wondering how to grow coriander at home, the good news is that beginners can easily do it with a little patience. Coriander grows relatively quickly when it receives suitable growing conditions. In this guide, I will explain the simple method I use to grow healthy coriander at home, from choosing the right container to harvesting fresh leaves.

    Why Grow Coriander at Home?

    There are several reasons why I like growing coriander at home. The first reason is convenience. Instead of buying a bunch from the market every time I need it, I can simply cut a few fresh leaves from my own plant.

    Fresh coriander also adds a pleasant aroma and flavor to food. Growing it at home gives me more control over how the plant is cared for. I can choose the soil, watering routine, and growing location myself.

    Another advantage is that coriander does not require a large amount of space. It can grow successfully in a pot, container, balcony garden, kitchen garden, or even a sunny windowsill.

    Choose the Right Coriander Seeds

    The first important step in growing coriander at home is choosing good quality seeds. You can purchase coriander seeds from a gardening store or use suitable whole coriander seeds.

    Fresh seeds generally have a better chance of germinating. I recommend avoiding old seeds that have been stored for a very long time because their germination rate may be lower.

    One useful tip is to gently crush or split the coriander seeds before planting. Coriander seeds are actually made up of two small seed parts. Lightly separating them can help improve germination. However, avoid crushing them into powder because damaged seeds may not grow properly.

    Choose a Suitable Pot

    Coriander does not need a very large container, but the pot should have proper drainage holes. Good drainage is important because water that remains around the roots for too long can cause problems.

    For growing coriander at home, I prefer a container that is reasonably wide and deep enough for healthy root development. A wider container also allows you to grow several plants together.

    Make sure the pot has holes at the bottom. If the container does not drain properly, excess water can remain in the soil and affect plant health.

    Prepare Good Soil

    Coriander grows best in loose and well drained soil. I usually prefer a light potting mixture that allows both air and water to move through the soil.

    You can use good quality garden soil mixed with compost. Compost provides organic matter and helps create a suitable environment for the roots.

    The soil should not be extremely heavy or compact. If the soil becomes hard, young roots may struggle to grow. Before planting the seeds, break up large pieces of soil and make the surface reasonably smooth.

    How to Plant Coriander Seeds

    Once your pot and soil are ready, you can start planting.

    Spread the coriander seeds across the surface of the soil. Try not to place every seed in exactly the same spot because crowded seedlings may compete for sunlight, water, and nutrients.

    Cover the seeds with a thin layer of soil. They do not need to be planted extremely deep. After covering them, gently water the soil.

    The goal is to make the soil moist without turning it into mud. Heavy watering can move the seeds around or create overly wet conditions.

    Place the container in a bright location where it can receive several hours of sunlight.

    Give Coriander Enough Sunlight

    Sunlight is important for healthy coriander growth. I prefer placing my coriander container in a location that receives good natural light.

    Morning sunlight can be particularly useful because it provides bright conditions without the intense heat that can occur later in the day. If you live in a very hot climate, protect the plant from excessive afternoon heat.

    Coriander can struggle when temperatures become extremely high. Too much heat may cause the plant to flower quickly instead of producing lots of fresh leaves.

    If you are growing coriander indoors, place the pot near a bright window. Rotate the container occasionally so the plant can receive light more evenly.

    Watering Coriander Plants

    Watering is one of the most important parts of coriander care. The soil should remain slightly moist, especially while the seeds are germinating.

    I recommend checking the soil with your finger before watering. If the top layer feels dry, it is usually time to add some water.

    Avoid following a strict watering schedule without checking the soil because different environments dry out at different speeds. A plant growing in a hot balcony may need water more often than one growing indoors.

    Always water gently. Strong streams of water can disturb young seedlings and expose their roots.

    When Will Coriander Seeds Germinate?

    Coriander seeds can take several days to germinate, although the exact time depends on seed quality, temperature, moisture, and growing conditions.

    During this stage, patience is important. I recommend keeping the soil lightly moist and providing suitable light rather than constantly disturbing the soil to check for growth.

    Once small green seedlings appear, continue providing gentle care. As the seedlings become stronger, they will begin producing more leaves.

    Thin the Seedlings

    If too many coriander seedlings grow close together, the plants may become overcrowded. Crowded plants can compete for water, nutrients, sunlight, and space.

    Once the seedlings become large enough to handle, you can remove some of the weaker plants. This gives the remaining coriander plants more room to grow.

    Do not throw away healthy young plants if you can use them. Some small coriander seedlings can be used in cooking depending on their size and condition.

    How to Grow Coriander at Home

    Fertilizing Coriander

    Coriander usually does not require complicated fertilizing. If you have prepared the soil with good compost, the plants can receive useful nutrients from the growing medium.

    If growth appears weak, a mild organic fertilizer can be considered. I prefer using fertilizer carefully rather than adding too much.

    Excess fertilizer does not always mean faster growth. Too many nutrients can sometimes create problems for plants. A balanced approach is usually better for home gardening.

    How to Keep Coriander Healthy

    Good air circulation can help keep coriander plants healthier. Avoid placing containers in areas where plants are packed tightly together with no airflow.

    Remove damaged or unhealthy leaves when necessary. Keep the growing area clean and avoid allowing dead plant material to build up around the base.

    Regularly inspect the leaves for signs of insects or other problems. Finding an issue early usually makes it easier to manage.

    The most important thing is consistency. Coriander does not need complicated daily attention, but it does benefit from regular watering, suitable sunlight, and healthy soil.

    Common Problems When Growing Coriander

    One common problem is overwatering. If the soil stays wet for long periods, the roots may become unhealthy. Always check the soil before adding more water.

    Another problem is insufficient sunlight. Plants grown in very dark locations may become weak and thin.

    Extreme heat can also cause coriander to flower quickly. Once coriander starts flowering, its growth pattern changes and the plant may produce fewer tender leaves.

    Overcrowding is another issue. If too many plants grow together, they may not have enough room for healthy development.

    How to Harvest Fresh Coriander

    One of the best parts of growing coriander at home is harvesting fresh leaves.

    When the plants have developed enough healthy foliage, you can begin cutting some leaves and stems. I prefer harvesting only what I need instead of removing a large amount at once.

    Use clean scissors or a sharp kitchen knife to cut the stems. Leaving enough healthy growth behind allows the plant to continue developing.

    Regular harvesting can also help you enjoy fresh coriander while the plant is still producing tender leaves.

    How to Grow Coriander Continuously

    If you use coriander frequently, you can plant new seeds every few weeks instead of planting everything at the same time.

    This method can provide a more continuous supply of fresh coriander. While one batch is being harvested, another batch can be growing.

    I find this approach especially useful for people who cook regularly with coriander. It also makes the most of a small balcony or kitchen garden.

    Can You Grow Coriander Indoors?

    Yes, coriander can be grown indoors if you provide enough light and suitable growing conditions.

    Place the pot near a bright window where the plant can receive natural sunlight. Make sure the container has drainage holes and avoid keeping it directly beside a source of extreme heat.

    Indoor coriander may need more attention to light because rooms can sometimes be darker than outdoor spaces. If the plant becomes thin or weak, consider moving it to a brighter location.

    Final Thoughts

    Learning how to grow coriander at home is a simple and rewarding gardening project. You do not need a large garden, expensive tools, or advanced gardening experience. With a suitable container, healthy soil, good coriander seeds, sunlight, and careful watering, you can grow fresh coriander in a surprisingly small space.

    From my experience, the biggest lesson is not to overcomplicate the process. Give the plant the basic conditions it needs and allow it enough time to grow. Check the soil regularly, provide suitable light, avoid excessive watering, and harvest the leaves carefully.

    Growing coriander at home can also encourage you to try other herbs and vegetables. Once you see how easy it can be to grow one useful herb in a pot, starting a small home garden becomes much more enjoyable.

    Whether you have a balcony, patio, windowsill, or small outdoor space, coriander is a practical herb to grow. With a little care and consistency, you can enjoy fresh homemade coriander for your everyday cooking while developing your own simple home gardening routine.

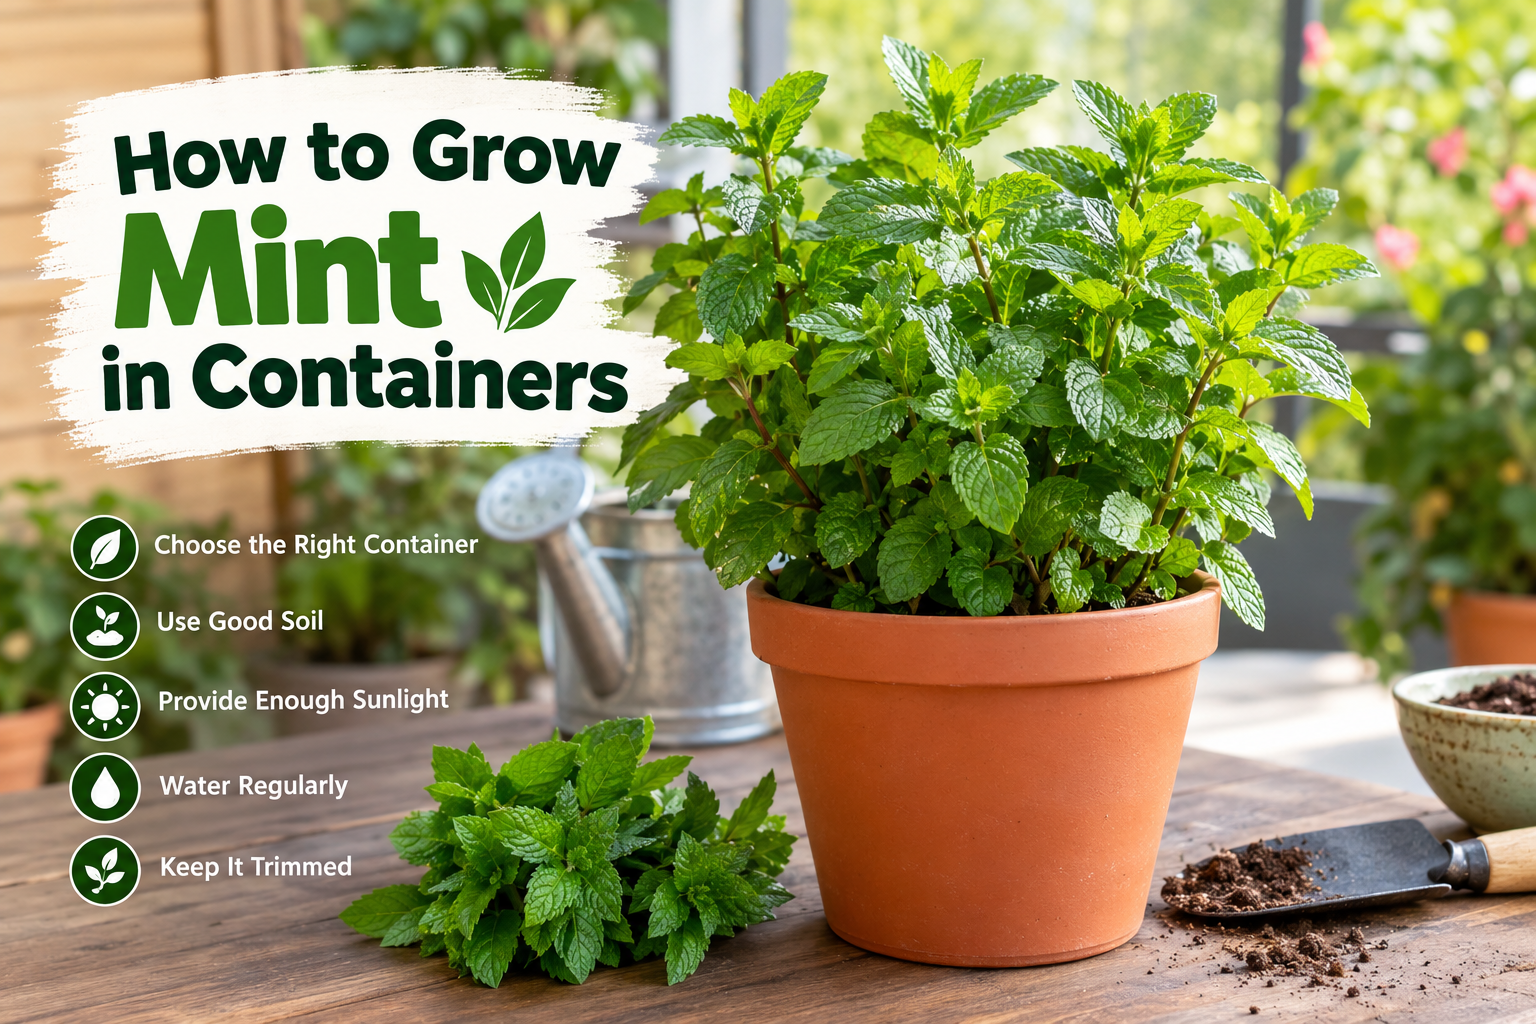
  • How to Grow Mint in Containers

    How to Grow Mint in Containers

    Growing mint in containers is one of the easiest ways to enjoy fresh herbs at home. I personally like growing mint because it does not require a large garden, expensive equipment, or advanced gardening experience. A simple pot, good soil, enough water, and a suitable location can be enough to grow a healthy mint plant.

    Mint is a fast growing herb that can provide fresh leaves for tea, drinks, salads, desserts, and many homemade recipes. However, mint can spread quickly when planted directly in garden soil. This is one reason I prefer growing mint in containers. A container keeps the plant in one place and also makes it easier to control its water, soil, sunlight, and overall growth.

    If you are a beginner and want to learn how to grow mint in containers, this guide will help you understand the process from choosing a pot to harvesting fresh leaves.

    Choose the Right Mint Plant

    The first step in growing mint is choosing a healthy plant. You can grow mint from seeds, cuttings, or a small nursery plant. In my experience, starting with a healthy young plant is usually the easiest option for beginners because it saves time and gives you a stronger starting point.

    When buying a mint plant, look for fresh green leaves and healthy stems. Avoid plants that have yellow leaves, damaged stems, or signs of insects. A small healthy plant can quickly develop into a full and attractive container plant when given proper care.

    There are several types of mint available, including spearmint and peppermint. You can choose the type according to your preference and how you plan to use the leaves.

    Select a Suitable Container

    Choosing the right container is very important when learning how to grow mint in containers. Mint grows quickly and can develop a strong root system, so it needs enough space.

    I recommend using a container that is at least 8 to 12 inches wide and reasonably deep. A larger container can be useful if you want a bigger plant. The most important thing is drainage.

    Make sure the container has drainage holes at the bottom. These holes allow excess water to escape after watering. Without proper drainage, water can remain around the roots and create problems such as root damage.

    You can use a terracotta pot, plastic container, ceramic pot, or another suitable gardening container. The material is less important than the size and drainage.

    Use Good Quality Potting Soil

    Mint grows best when its roots have access to moisture and air. For container gardening, I prefer using a good quality potting mix rather than heavy garden soil.

    A basic potting mix can contain regular potting soil, compost, and a material that improves drainage. The soil should hold enough moisture for the plant but should not stay completely wet.

    Before planting mint, fill the container with soil and leave some space near the top. This makes watering easier and prevents soil from washing out of the container.

    Good soil can make a noticeable difference in plant growth. If the soil becomes compacted over time, gently loosen the surface without disturbing the roots too much.

    Plant Mint Correctly

    Once you have your container and soil ready, you can plant your mint. Make a small hole in the center of the soil that is large enough for the roots of the young plant.

    Place the mint plant into the hole and gently cover the roots with soil. Avoid pressing the soil too hard because compacted soil can make it difficult for air and water to reach the roots.

    After planting, water the mint thoroughly. Make sure excess water flows through the drainage holes.

    If you are planting more than one mint plant, remember that mint can become bushy. Giving each plant enough room will help improve air circulation and make maintenance easier.

    Give Mint Enough Sunlight

    Mint needs sunlight for healthy growth, but it can also tolerate some shade. A location that receives several hours of sunlight each day is usually suitable.

    I prefer placing container grown mint in a bright area where it can receive morning sunlight. In very hot weather, strong afternoon sunlight can sometimes be stressful for the plant. If the leaves begin to look weak or dry, moving the container to a location with some afternoon shade may help.

    Indoor mint can also grow near a bright window. Make sure the plant receives enough natural light and rotate the container occasionally so all sides receive balanced light.

    Water Mint Properly

    Watering is one of the most important parts of mint plant care. Mint generally likes consistently moist soil, but it does not like sitting in water.

    I usually check the soil before watering. If the top layer feels slightly dry, it is time to water the plant. Pour water slowly around the soil until some water begins to come out of the drainage holes.

    Avoid watering the plant simply because it is part of your daily routine. Weather, container size, sunlight, and indoor conditions can all affect how quickly the soil dries.

    During hot weather, container plants may need water more frequently. During cooler or rainy periods, they may need less water.

    Keep Mint Healthy With Regular Trimming

    One of the easiest ways to encourage bushy mint growth is regular trimming. If you allow the stems to grow without cutting them, the plant can become tall and less attractive.

    I like to pinch or cut the growing tips regularly. This encourages the plant to produce more side branches and leaves.

    Always use clean scissors or garden shears when harvesting or trimming. You can use the fresh leaves immediately or store them for later use.

    Regular harvesting can actually become part of your normal mint plant care routine. Instead of waiting until the plant becomes too large, take small amounts of mint whenever you need it.

    Feed the Plant When Needed

    Mint does not usually require heavy feeding, especially when planted in good quality soil. However, container plants may eventually use many of the available nutrients.

    If your mint growth becomes slow or the leaves appear less healthy, a mild balanced fertilizer can be considered. Follow the instructions on the fertilizer package and avoid applying more than recommended.

    Too much fertilizer is not always better. Excess fertilizer can damage roots and may encourage weak growth.

    Adding a small amount of compost to the soil can also provide nutrients while improving soil quality.

    How to Grow Mint in Containers

    Protect Mint From Common Problems

    Mint is generally an easy herb to grow, but it can still experience problems. Yellow leaves may be caused by excessive watering, poor drainage, or other growing conditions.

    Dry and crispy leaves can indicate that the plant is not receiving enough water or is exposed to excessive heat.

    You should also check the leaves and stems regularly for insects. Small pests can sometimes appear on young growth. If you notice insects, remove heavily affected leaves and gently wash the plant with water.

    Good air circulation, proper watering, and regular trimming can help keep the plant healthier.

    Repot Mint When Necessary

    Mint can grow quickly in a container, and its roots may eventually fill the available space. If you notice roots coming out of the drainage holes or the plant drying out unusually quickly, it may be time to repot it.

    Choose a container that is slightly larger than the current one. Carefully remove the plant, place it into fresh potting soil, and water it thoroughly.

    Repotting gives the roots more room and provides fresh growing conditions.

    You can also divide a large mint plant into smaller sections. This is a simple way to create additional mint plants for other containers.

    Harvest Mint the Right Way

    Harvesting fresh mint is one of the most enjoyable parts of growing this herb. I recommend harvesting the leaves regularly instead of removing a large portion of the plant at one time.

    Cut the stems just above a pair of healthy leaves. This encourages new branches to develop from that point.

    Fresh mint can be used in homemade tea, cold drinks, salads, desserts, sauces, and many other recipes. You can also dry the leaves for later use.

    When harvesting, always leave enough healthy growth on the plant so it can continue producing new leaves.

    Common Mistakes to Avoid

    Beginners sometimes make a few simple mistakes when growing mint in containers. One common mistake is using a container without drainage holes. This can lead to excess water around the roots.

    Another mistake is allowing the soil to become completely dry for long periods. Mint prefers consistent moisture.

    Planting mint in a very small container can also limit its growth. Giving the roots enough room makes maintenance easier.

    Overfertilizing is another problem I recommend avoiding. Mint usually does not need large amounts of fertilizer to grow well.

    Finally, do not forget to trim the plant. Regular harvesting and trimming can help maintain a compact and productive mint plant.

    Final Thoughts

    Learning how to grow mint in containers is a simple and rewarding gardening project. You do not need a large garden or expensive equipment to get started. With a suitable container, good potting soil, proper drainage, enough sunlight, and regular watering, mint can grow successfully in many home environments.

    I find container gardening especially useful because the plant is easy to monitor and move when weather conditions change. It also prevents mint from spreading throughout the garden.

    The most important thing is to pay attention to your plant. Check the soil, observe the leaves, trim the stems, and adjust watering when necessary. With a little regular care, your mint plant can provide fresh green leaves for a long time.

    If you are new to gardening, mint is one of the herbs I would recommend trying first. It grows quickly, looks attractive, and gives you something useful to harvest from your own home garden.

  • How to Grow Basil at Home in a Pot

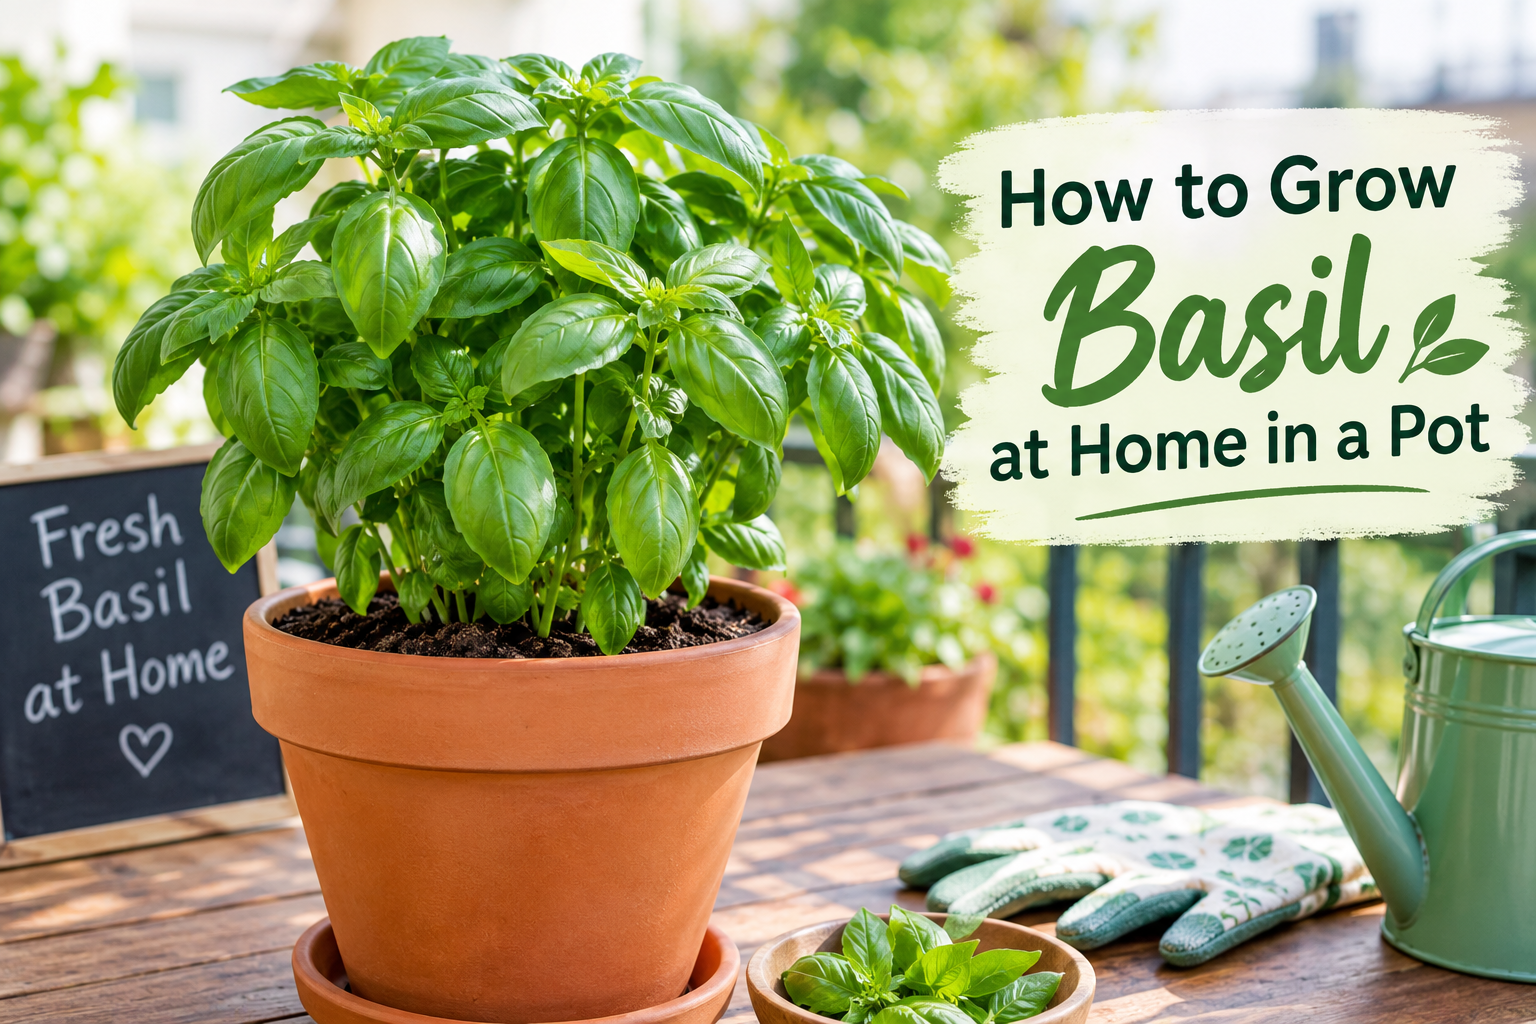
    How to Grow Basil at Home in a Pot

    Growing basil at home in a pot is one of the easiest ways to enjoy fresh herbs without needing a large garden. I personally like growing basil because it does not require much space, and with a little regular care, one small plant can provide fresh leaves for many meals. Whether you have a balcony, kitchen window, terrace, or small outdoor space, you can grow healthy basil in a container.

    Basil is a warm weather herb that grows quickly when it receives enough sunlight, suitable soil, water, and regular trimming. It is also a useful plant for beginners because you can easily see its growth from small seedlings into a full, leafy plant.

    In this guide, I will explain how to grow basil at home in a pot, including choosing the right container, preparing the soil, planting seeds, watering, sunlight requirements, feeding, pruning, and harvesting.

    Why Grow Basil at Home?

    There are many reasons to grow basil at home. The biggest advantage for me is having fresh basil whenever I need it. Store bought basil can lose its freshness quickly, while a plant growing in your home can provide fresh leaves whenever you want.

    Basil also adds a pleasant green appearance to a balcony or windowsill. Its fresh leaves can be used in pasta, salads, sandwiches, sauces, soups, pizza, and many other dishes.

    Another benefit is that basil does not need a large garden. A suitable pot and a sunny location are often enough to get started. This makes growing basil in containers a practical option for people who live in apartments or homes with limited outdoor space.

    Choose the Right Pot for Basil

    The first important step is choosing a suitable pot. Basil has a fairly manageable root system, but it still needs enough space to grow properly.

    I recommend starting with a pot that is at least 8 to 12 inches wide and reasonably deep. A larger container can support more growth and hold moisture for a little longer.

    The pot must have drainage holes at the bottom. This is extremely important because excess water can remain around the roots if there is nowhere for it to escape. Too much moisture can cause root problems and may weaken the plant.

    Terracotta, ceramic, plastic, and other garden containers can all work. The material is less important than proper drainage and enough room for the roots.

    If you want to grow several basil plants, use a larger container and leave enough space between plants so that air can move around the leaves.

    Use Good Quality Soil

    Basil grows best in loose and well draining soil. I avoid using heavy garden soil alone in containers because it can become compacted and may not provide the drainage that potted basil needs.

    A good quality potting mix is a simple choice for beginners. You can use a general purpose container mix that drains well while still holding enough moisture for the plant.

    The soil should feel light and loose. When you water it, excess water should be able to move through the drainage holes instead of sitting at the bottom of the pot.

    Before planting, fill the pot with soil while leaving a little space near the top. This makes watering easier and prevents soil from spilling over the sides.

    How to Plant Basil Seeds

    Growing basil from seeds is an affordable and rewarding option. Start by placing the seeds on the surface of moist soil. Basil seeds are small, so they do not need to be planted very deeply.

    Cover them with a very thin layer of soil and gently water the surface. Keep the soil consistently moist while the seeds are germinating.

    Place the pot somewhere warm and bright. Under suitable conditions, basil seeds can begin to sprout within several days to a couple of weeks.

    Once the seedlings appear, make sure they receive enough light. If several seedlings are growing too close together, you can carefully thin them so the strongest plants have enough room.

    Give Basil Plenty of Sunlight

    One of the most important parts of growing basil at home is providing enough sunlight. Basil generally grows best in a warm, bright location.

    I prefer placing basil in an area where it can receive several hours of direct sunlight each day. A sunny balcony, patio, terrace, or bright window can work well.

    If your basil receives too little light, the stems may become long and weak while the leaves remain smaller. Healthy basil usually develops strong stems and plenty of green leaves when it receives good light.

    During very hot weather, especially in areas with intense afternoon heat, watch the plant carefully. Excessive heat can cause the leaves to wilt. Providing some protection during the hottest part of the day may help in extremely hot conditions.

    Water Basil Correctly

    Watering is another important part of basil care. Basil likes evenly moist soil, but it does not like sitting in water.

    Before watering, check the surface of the soil with your finger. If the top layer feels dry, it may be time to water. If the soil is still very wet, wait a little longer.

    When watering, apply enough water to moisten the soil thoroughly. Allow excess water to drain from the bottom of the pot.

    I find that checking the soil is better than following a strict watering schedule because the plant’s needs can change depending on temperature, sunlight, pot size, and weather.

    During hot weather, container basil may need water more frequently. During cooler or cloudy conditions, it may need less.

    Feed Your Basil Plant

    Basil can grow well in good quality potting soil, but occasional feeding can support healthy growth.

    A mild balanced fertilizer can be used according to the instructions on its label. Avoid applying excessive fertilizer because more is not always better. Too much fertilizer can encourage excessive growth or create other problems.

    If you are growing basil mainly for its leaves, regular harvesting and pruning are often just as important as feeding.

    How to Grow Basil at Home in a Pot

    Prune Basil Regularly

    Pruning is one of my favorite parts of growing basil because it helps the plant become fuller.

    When the basil plant has several sets of leaves, pinch or cut the growing tip just above a pair of leaves. This encourages the plant to produce new branches.

    Instead of allowing the plant to grow as one tall stem, regular trimming can encourage a bushier shape.

    You should also remove damaged or yellowing leaves when you notice them. Keeping the plant clean and well maintained can improve its overall appearance.

    Remove Basil Flowers

    Basil eventually produces flowers if it is allowed to mature. The flowers can look attractive, but if your main goal is to harvest leaves, it is usually helpful to remove flower buds as they appear.

    Once basil begins flowering heavily, the plant can put more energy into producing flowers and seeds. Regularly pinching off flower buds encourages continued leaf production.

    I usually check the growing tips when harvesting because flower buds can develop there quickly during warm weather.

    How to Harvest Basil

    Harvesting basil correctly can actually encourage more growth. Instead of removing only individual large leaves from the bottom, I prefer cutting or pinching stems just above a pair of healthy leaves.

    This encourages new branches to develop from that point.

    Try not to remove too much of the plant at one time, especially when it is young. Regular light harvesting is usually better than taking most of the leaves at once.

    Fresh basil can be used immediately in cooking. You can add it to pasta, homemade sauces, salads, sandwiches, soups, pizza, or other meals.

    For the best flavor, many people prefer harvesting basil shortly before using it.

    Common Basil Growing Problems

    Even though basil is relatively easy to grow, beginners can experience a few common problems.

    If the leaves turn yellow and the soil stays wet for a long time, overwatering may be the issue. Check the drainage and allow the soil to dry slightly between waterings.

    If the plant becomes tall and weak, insufficient sunlight may be responsible. Move the pot to a brighter location if possible.

    If the leaves become damaged or show unusual spots, inspect the plant closely for pests or signs of disease. Remove badly damaged leaves and improve air circulation around the plant.

    Very hot conditions can also cause wilting. If the plant is exposed to intense heat, providing some afternoon protection and maintaining appropriate moisture can help.

    Tips for Growing Healthy Basil in a Pot

    There are a few simple habits that can make basil container gardening easier.

    Choose a pot with drainage holes.

    Use loose and well draining potting soil.

    Give basil plenty of sunlight.

    Check soil moisture before watering.

    Avoid keeping the roots constantly wet.

    Prune the plant regularly.

    Remove flower buds if you want more leaves.

    Harvest small amounts regularly.

    Give the plant enough space for air circulation.

    Protect young plants from extreme temperatures.

    These simple steps can make a noticeable difference in the health and productivity of your basil plant.

    Can Basil Grow Indoors?

    Yes, basil can grow indoors if it receives enough light. A bright sunny window can be a good location, especially during cooler months.

    Indoor basil still needs proper drainage, suitable soil, and regular watering. Avoid placing the pot in a dark corner simply because basil is a small herb.

    If natural light is limited, a suitable indoor grow light may help provide the additional light the plant needs.

    Keep the plant in a location with reasonable air circulation and avoid placing it directly against very cold glass or near strong heating sources.

    Final Thoughts

    Learning how to grow basil at home in a pot is a simple gardening project that almost anyone can try. You do not need a large garden or expensive equipment. With a suitable container, good soil, sunlight, water, and regular pruning, basil can grow into a healthy and productive herb plant.

    From my point of view, the biggest secret is consistency. Basil does not need complicated care, but it does benefit from regular attention. I like checking the soil, looking at the leaves, trimming new growth, and harvesting a little whenever I need fresh basil.

    If you are new to container gardening, basil is a great plant to start with. It grows relatively quickly, looks attractive, and gives you something useful to harvest. Once you successfully grow one basil plant, you may find yourself wanting to try other herbs in pots as well.

    With the right care and a little patience, growing basil at home in a pot can become an enjoyable part of your everyday gardening routine.

  • Easy Herbs to Grow Indoors for Beginners

    Easy Herbs to Grow Indoors for Beginners

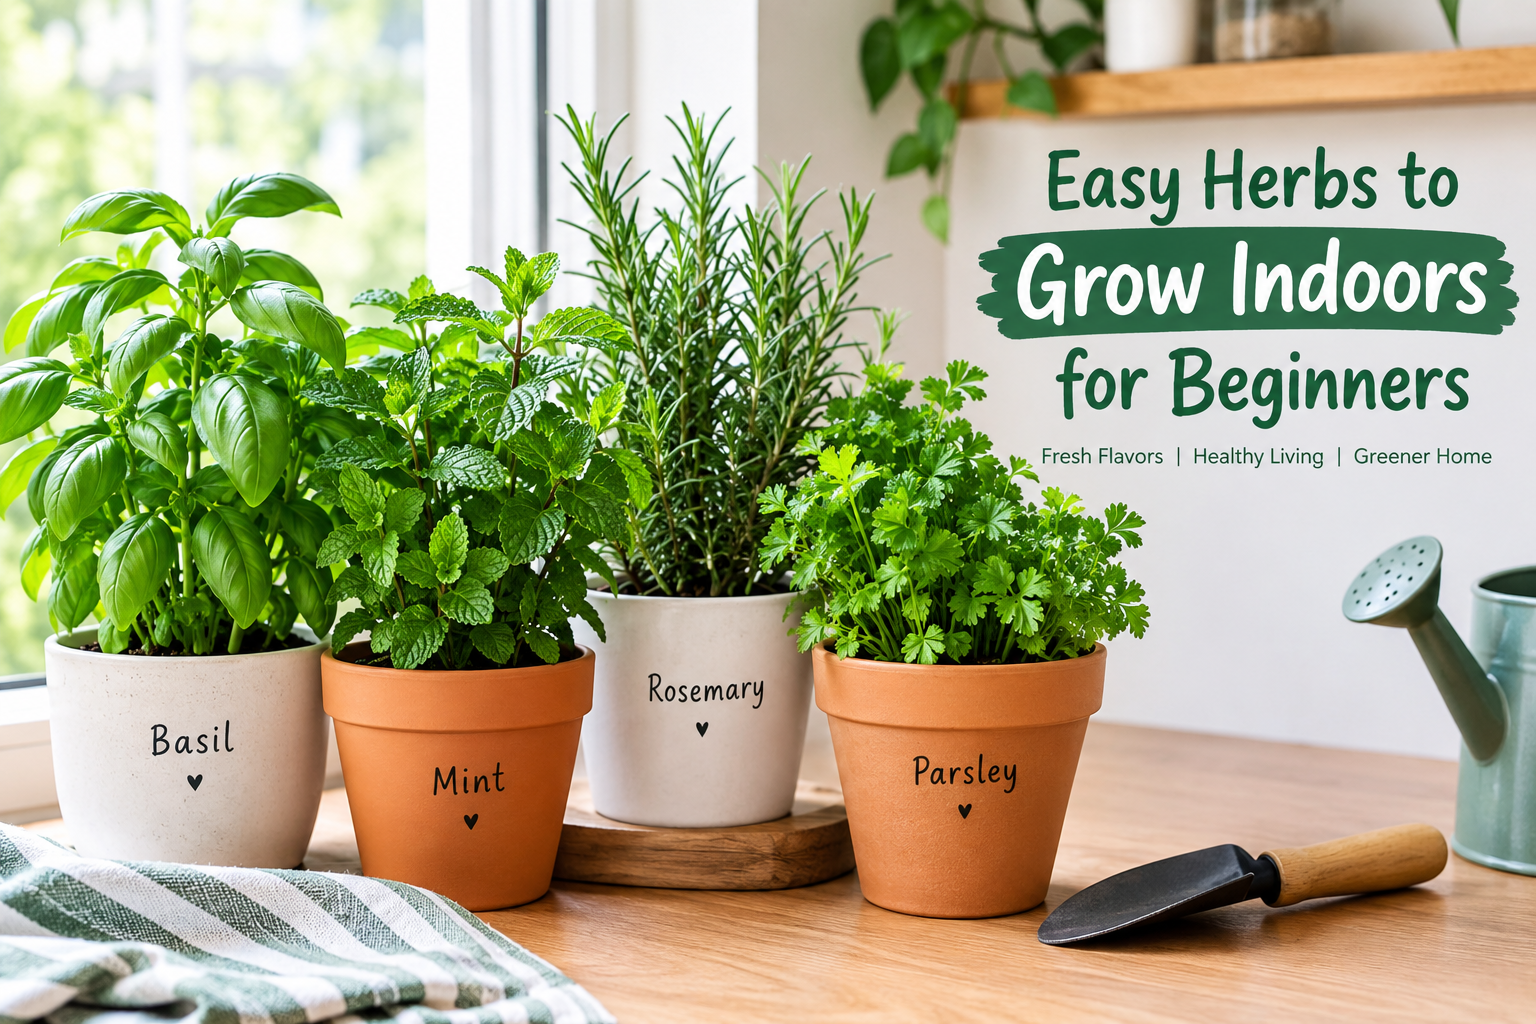
    Growing fresh herbs indoors is one of the easiest ways to bring greenery into your home while also having fresh ingredients available for everyday cooking. You do not need a large garden, expensive equipment, or years of gardening experience to get started. With a few suitable pots, good soil, enough light, and regular care, you can grow several useful herbs right inside your home.

    In my experience, indoor herb gardening is especially enjoyable for beginners because the plants are easy to observe. When you grow herbs indoors, you can quickly notice changes in their leaves, soil, and growth. This makes it easier to understand what your plants need.

    If you are wondering about the easy herbs to grow indoors for beginners, there are several excellent choices. Basil, mint, parsley, chives, oregano, thyme, cilantro, and rosemary can all be grown indoors when their basic growing requirements are met.

    Why Grow Herbs Indoors?

    There are many reasons to start an indoor herb garden. The first benefit is convenience. Instead of going outside or buying a small bunch of herbs from the grocery store, you can simply pick what you need from your own plants.

    Indoor herbs can also make a room look more natural and attractive. A few green pots placed near a sunny window can create a pleasant gardening space even if you live in an apartment.

    Another advantage is that you have more control over the growing environment. Outdoor plants can be affected by heavy rain, strong winds, extreme heat, or sudden cold weather. Indoor herbs are generally protected from these conditions.

    For beginners, growing herbs indoors is also a great way to develop basic gardening skills.

    1. Basil

    Basil is one of my favorite herbs for beginners because it grows quickly when given suitable conditions. Its fresh green leaves are commonly used in pasta, salads, sauces, sandwiches, and many other dishes.

    Basil needs plenty of sunlight, so placing it near a bright window is usually a good choice. A warm location can also help the plant grow well.

    Use a pot with drainage holes and fill it with good quality potting soil. Water the plant when the surface of the soil begins to feel dry. Avoid keeping the soil constantly wet because excessive moisture can cause root problems.

    Regularly picking the leaves can encourage the plant to produce more growth. I recommend harvesting the larger leaves while leaving enough healthy growth on the plant.

    2. Mint

    Mint is another excellent choice for an indoor herb garden. It has a fresh smell and can be used in tea, drinks, salads, sauces, and desserts.

    Mint can grow quite actively, so I recommend giving it its own container. This prevents it from competing with other herbs.

    Place the pot in a bright location where the plant receives good indirect or direct light depending on the conditions in your home. Keep the soil slightly moist but do not leave the roots sitting in water.

    One thing I like about mint is that it can recover well after regular harvesting. You can trim the stems and use the fresh leaves whenever needed.

    3. Parsley

    Parsley is a useful herb that can add fresh flavor and color to many meals. It is also suitable for indoor growing if it receives enough light.

    Parsley generally grows well in a container with good drainage. Choose a pot that gives the roots enough space to develop.

    The seeds can take some time to germinate, so beginners should be patient. Once the seedlings appear, provide them with adequate light and water them when the soil starts becoming dry.

    There are different types of parsley, including curly parsley and flat leaf parsley. Both can be useful for a small indoor herb garden.

    4. Chives

    Chives are among the simplest herbs for beginners. They have thin green leaves and a mild onion like flavor.

    You can grow chives in a relatively small pot, making them suitable for kitchens, windowsills, or small indoor gardening areas.

    Place the pot somewhere bright and water when the soil begins to dry. When the leaves become long enough, you can cut them with clean scissors and use them in eggs, soups, potatoes, salads, or other dishes.

    Avoid cutting the entire plant down to the soil. Leaving some healthy growth allows the plant to continue producing new leaves.

    5. Oregano

    Oregano is a popular herb that is particularly useful for people who enjoy homemade pizza, pasta, sauces, and Mediterranean inspired meals.

    It generally prefers plenty of light and well draining soil. Allowing the soil to dry slightly between watering can help prevent excessive moisture around the roots.

    Oregano does not need constant attention. Once established, it can provide a steady supply of leaves for cooking.

    Regular trimming can also help keep the plant compact. This is helpful when you are growing herbs indoors where space may be limited.

    6. Thyme

    Thyme is a small herb with a strong aroma and plenty of culinary uses. It can be grown in a container and does not require a huge amount of space.

    The most important thing to remember with thyme is to avoid overwatering. Give it a well draining pot and allow the soil to dry somewhat before watering again.

    Thyme generally appreciates a bright location. A sunny windowsill can be a suitable place if the plant receives enough light without becoming exposed to extreme heat.

    You can harvest small amounts of thyme whenever you need it.

    7. Cilantro

    Cilantro is another useful herb for an indoor garden, especially if you enjoy fresh herbs in cooking. It can be used in curries, salads, sauces, soups, chutneys, and many other dishes.

    Cilantro grows relatively quickly but can sometimes produce flowers when conditions become too warm or the plant matures. For a continuous supply, you can consider planting seeds at different times rather than planting everything at once.

    Keep the soil reasonably moist while the seeds are germinating. Once the plants become established, provide sufficient light and avoid excessive watering.

    8. Rosemary

    Rosemary can also be grown indoors, although it usually requires a little more attention to light and watering than some of the softer herbs.

    It prefers a bright location and well draining soil. Rosemary generally does better when the soil is allowed to dry somewhat between watering.

    Choose a container with drainage holes and avoid placing the plant in a dark corner. If your home does not receive enough natural sunlight, an indoor grow light can be useful.

    Rosemary has a strong aroma and can be used to flavor vegetables, potatoes, breads, soups, and many other dishes.

    Easy Herbs to Grow Indoors for Beginners

    Choosing the Right Location

    Choosing the right location is one of the most important steps when growing herbs indoors. Most culinary herbs need plenty of light to grow properly.

    A bright windowsill can be an excellent starting point. South facing or west facing windows may receive strong sunlight, depending on your location and home design.

    However, extremely strong sunlight through glass can sometimes make a plant too hot. Pay attention to the leaves and soil and move the plant if necessary.

    If natural light is limited, an indoor grow light can provide additional support.

    Choosing Pots for Indoor Herbs

    Good containers can make indoor herb gardening much easier. Always choose pots with drainage holes at the bottom.

    Drainage allows extra water to leave the container instead of remaining around the roots. This is especially important for beginners because overwatering is one of the most common indoor gardening mistakes.

    The container should also be large enough for the herb you are growing. Very small pots may dry out quickly, while extremely large containers can hold excess moisture for too long.

    How Often Should You Water Indoor Herbs?

    There is no single watering schedule that works for every indoor herb. The amount of water a plant needs depends on its size, container, soil, temperature, humidity, and available light.

    Instead of watering automatically every day, check the soil first. Place your finger gently into the top layer of soil. If it feels dry, the plant may need water.

    Water slowly until a little water comes through the drainage holes. Then allow the excess water to drain away.

    Remember that more water does not always mean healthier plants. In many cases, overwatering can be more damaging than underwatering.

    Common Mistakes Beginners Should Avoid

    One of the biggest mistakes beginners make is choosing a location with insufficient light. Herbs need light for healthy growth, so a dark shelf may not be suitable.

    Another common mistake is watering too frequently. Always check the soil before adding more water.

    Using containers without drainage holes can also create problems. Excess moisture has nowhere to escape, which can damage the roots.

    Crowding too many herbs into one container is another issue. Different herbs have different growing habits, and giving each plant enough space can make care easier.

    Finally, do not expect every herb to grow perfectly from the beginning. Gardening is a learning process. Some plants may grow faster than others, and that is completely normal.

    How to Harvest Indoor Herbs

    Harvesting your herbs correctly can help keep them productive. Use clean scissors or your fingers to remove leaves and soft stems.

    For leafy herbs such as basil and mint, regular harvesting can encourage bushier growth. For herbs such as rosemary and thyme, trim small sections rather than removing too much at one time.

    Try to harvest only what you need. Freshly picked herbs often have a wonderful aroma and can make simple homemade meals feel much more special.

    Final Thoughts

    Starting an indoor herb garden does not have to be complicated. If you are a beginner, I recommend starting with two or three easy herbs rather than trying to grow everything at once. Basil, mint, chives, parsley, oregano, thyme, cilantro, and rosemary are all useful choices when their basic growing needs are met.

    The key is to provide suitable light, good drainage, quality potting soil, and careful watering. Spend a few minutes observing your plants each day, and you will gradually learn what works best in your home.

    For me, the best part of growing herbs indoors is being able to use something fresh that I have grown myself. Even a small windowsill garden can make cooking more enjoyable and bring a little extra greenery into your everyday space.

    If you are completely new to gardening, start small, be patient, and learn from each plant. With a little regular care, growing easy herbs indoors for beginners can become a simple and rewarding hobby.